Lofty ideas #2

In a previous blog, like, a million years ago, I covered our construction of a loft in our jam spot. Well, since then, we’ve moved spots and were able to move the loft with us. That’s all fine and dandy, but after our group of hooded menaces were given some awesome guitars as part of our endorsement of ESP, we found our loft was not a convenient space for the mass of cases we’d acquired over the years. Hence, the addition of the guitar loft.

guitar-bookcase-shelf1

Now we have a convenient place to reach our cases without climbing a god-damned ladder and they’re off the floor so we can actually jam. With a couple strokes of luck, we put this up for the price of a few wood screws.

Continue reading “Lofty ideas #2”

Pedal Bored 2: The Continuationing

I have detailed my previous pedal board project before. It was nice, quaint, and worked. Now onto the sequel, which needed to be bigger, badder, and grittier. Like The Dark Knight, but with betterĀ monster voice.

My precious(eses)!
My precious(eses)!

I needed more. Specifically, I needed more room. I’ve actually decreased the number of pedals I use, but added some junk like a wireless system, an iPod controller, and a DI. I also wanted a box that wasn’t just set aside, but that was part of the package.

Continue reading “Pedal Bored 2: The Continuationing”

Wrought in Hell: Road Case Revisionism

There used to be a day when I would put my amp under my car seat for travel. It was an Ampeg B2. I found out that was a good way to have all the EQ knobs broken. Years later I toured with an Ampeg SVT-2Pro rack mount amp… and never bothered rack mounting it. Sure, a guitar always goes in a case. Why bother with an amplifier? It’s just that thing that MAKES IT LOUD.

I got older and poorer, though, while my amp choice got older and more valuable. The folly of youth left me. There was no way was I going to leave on a huge tour again without making sure every amp had a case, especially the vintage Ampeg V4B I was now playing through. When we headed out with GWAR, Sean borrowed a case, we got Dan one while on the road, and I… of course, I had to cobble something together that was special.

I started with this little gem that was tossed for junk outside our practice studio. It was broken and battered, but had a lot of potential.

Continue reading “Wrought in Hell: Road Case Revisionism”

Happy Trailers

I wrote about my trailer before while on the road with GWAR. Coming back from that trip, I had some clean up work to do on the execrable beast. I thought it merited a little more detail on this often overlooked, but crucial piece of tour gear. 
The trailer I picked up is a 5×8′ EZ-Kargo. Don’t bother looking for the company online, they don’t have a web presence. I can’t find them to get replacement parts because they apparently live in the twentieth century. I got this second hand from some former pop-punk bassist whose dreams died and were reborn into a carpenter. It’s a handy trailer, especially in that it has a ramp for loading, which I think is essential for a band and one’s back.
It’s also pretty awesome for KITT to ride up on so you can meet with Devon Miles to discuss what blackmailed podunk civilian farming family of rednecks the Foundation for Law and Government is gonna waste their time on instead of taking on terrorists. 

As much as I love that loading ramp, those guide wires on the side are a death trap. I’ve seen more than one hapless soul go flying over those during a dark, late-night load out. A handy thing to do is tie on a brightly colored scarf. It does no one any good to have your vocalist crack his head tripping over those… actually, that could probably do everyone a lot of good for them to shut the f up. Much love!

Even though I went without one for the first tour with this trailer, NEVER go out without a spare tire (and corresponding tire iron, natch). One hour outside of Phoenix, I had all the tread rip off a tire on the trailer in 2010. Saints be praised, the tire didn’t blow completely or we might have had an overturned trailer. We were still on time to the show with naught more than a hasty tire change. The trailer didn’t come with a spare or any kind of mount, so I had to buy ’em. I used to have it mounted on the side of the tongue, which was a real pain in the ass. I paid $50 for this tire mount that hung the tire kind of low so it always dragged when we went into shallow driveways. It also blocked a van door on the back from opening.

For $10 I got these tie straps that do the job 110% better. It only took me three years to figure out this solution. Genius me am. There’s also a specialty wire lock that goes around the tire, like this one available on Amazon. Hey, I live in Oakland. You learn to lock everything down. 

Within two days of Impaled’s first trip with this trailer, we managed to bend the shit out of the trailer jack. It was mounted vertically, and it only took one driveway to permanently cripple us. For a month, we couldn’t drop the trailer from the van. My brother-in-law helped me immensely by welding on this lovely swivel-mount jack. Some models can also be bolted on if you don’t have access to a brother-in-law. It goes down when you have to drop and rides horizontally when you’re in motion. You can also see the clips I use for the safety chains are Master Locks. Again, I lock down anything I can. I’ve heard one too many stories of bands’ entire trailers being stolen.

Master Lock also has some great kits available for lockable trailer and hitch pins that are keyed alike with receiver locks. I have yet to see a kit that has it all, but I try to get as many things as I can that share keys. I try to minimize the jingle jangle from my keyring that makes me look like a school janitor.

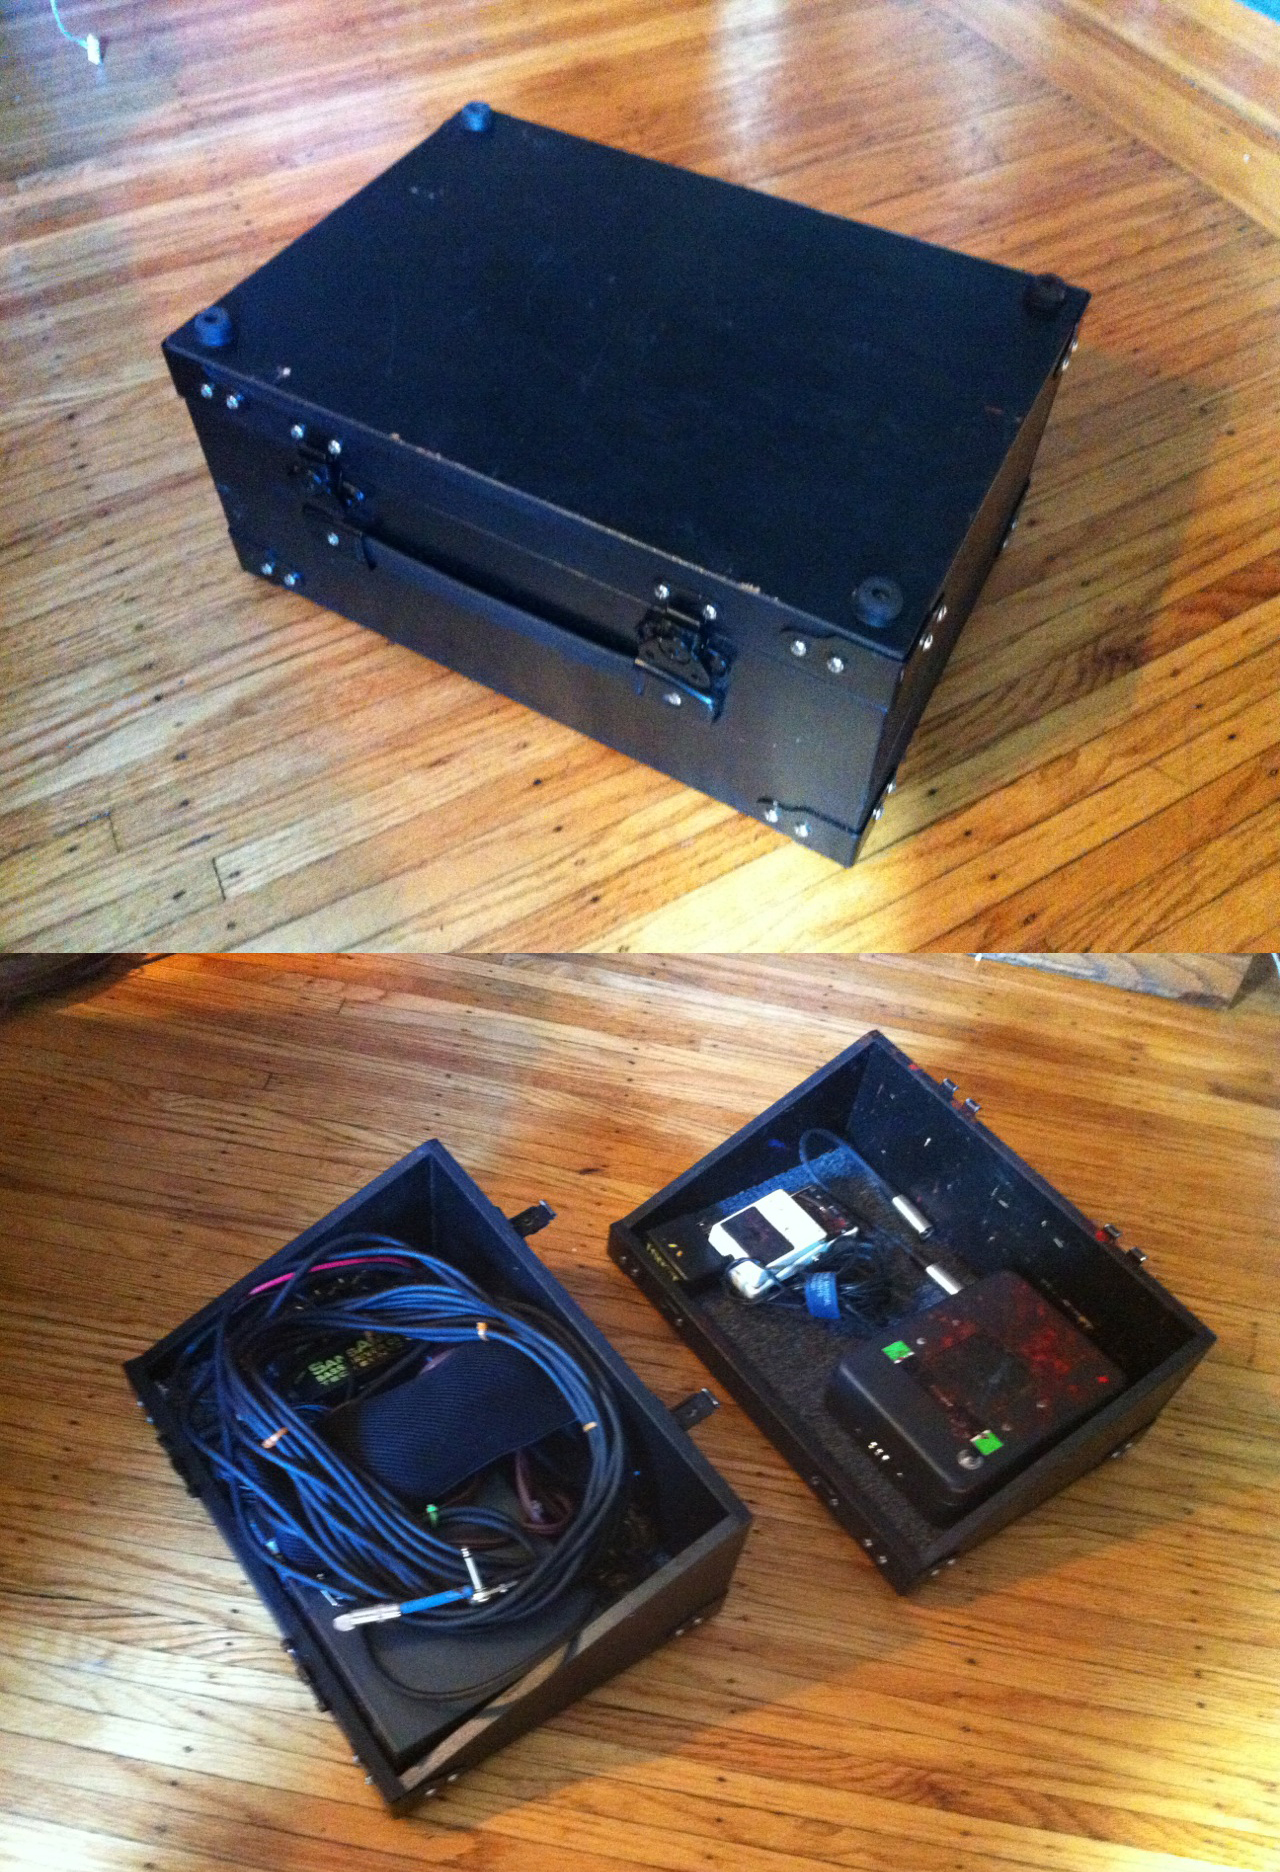
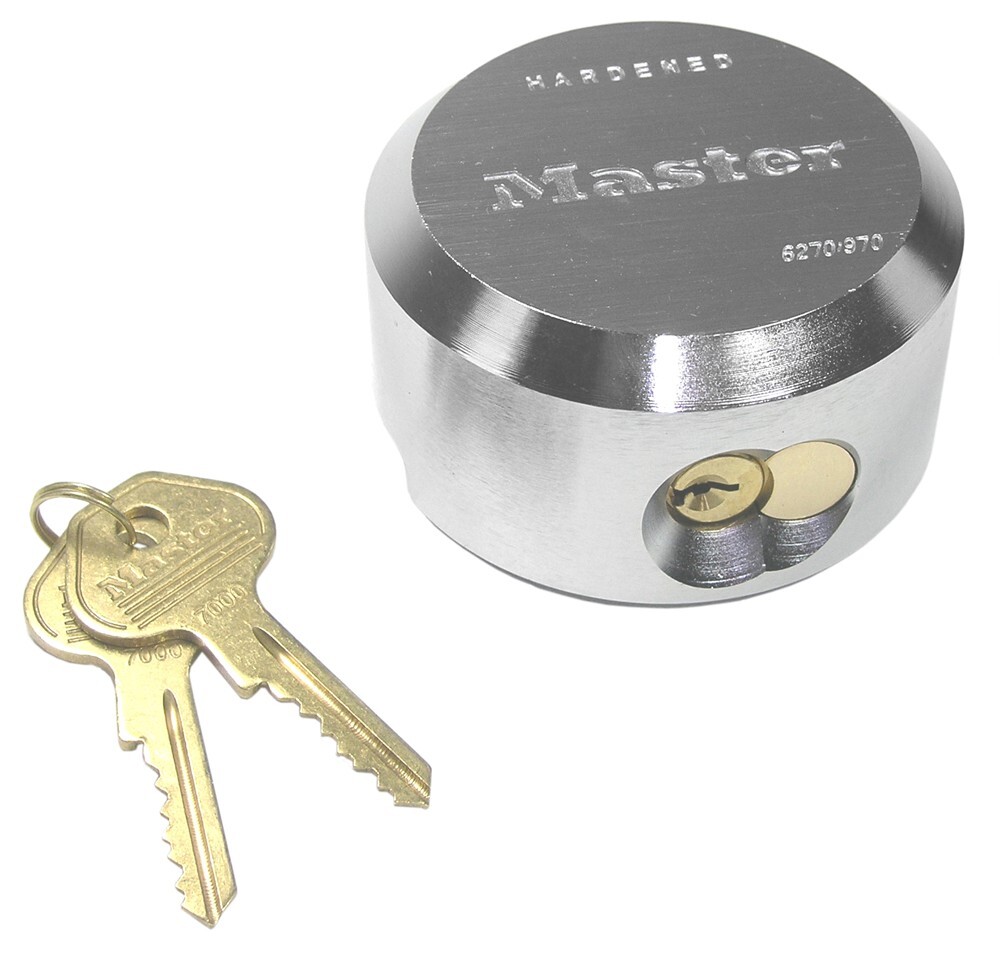
If only they’d sell these keyed-alike items along with the Master Lock hidden shackle locks I use for the trailer door, I’d be set. They’re almost TOO secure. Ask the band that borrowed my trailer, broke the key in the lock, and then had to pay a locksmith $200 to cut the entire thing in half. They got a $200 light show of sparks from a saws-all.
Here is the tongue of the trailer that we mangled on that first trip. I always keep a spare lock there just in case some numb nut loses one of the hidden-shackle locks from the back door. They’re secure, but using them also has a slight learning curve. Note the white ground wire for the trailer electrical system as well. That’s double bolted on, now. On my van, the system was grounded through the ball hitch. I always thought the loose, white wire didn’t do anything. When I tried my trailer on another van where the hitch didn’t carry the ground, I found out it did a lot. Unfortunately, I found that out after wasting a day troubleshooting the whole thing. Hey, me am genius, ‘member? 

Speaking of the electrical, the two terminal plugs literally create the lifeline to the trailer. They need to be protected. If not, your brake lights don’t work and a semi plows into you in the middle of the night. Or worse, Sheriff Bubba pulls you over for having your lights out and you end up in an Appalachian hoosegow squealing like Ned Beatty on estrogen. Either way you get plowed. The covers are available on Amazon
The time I blew the tread off the tire, I also lost a fender. 
It took me a doozy of a time finding a replacement. Us ding dang coastal elites don’t have a lot of access to trailer parts stores. Horse apples! Finally, I found a cheap one, on of all places, Amazon.com. They were easy enough to install. I drilled some pilot holes followed by self-tapping screws right into the trailer frame. Then I found out why these fenders were so cheap. 
The began rusting right away. Turns out, they weren’t anodized or something, I really don’t know. The point is, they were dog shit. Still, I managed to polish this turd. I had to remove the fenders and sand off the rust with a wire brush drill bit. Then I got this stuff, Rust-Oleum galvanizing compound spray paint. A good couple coats of this, and the cheap steel fender was coated with a layer of rust-resistant zinc particles. 
That fender light also had to be replaced with something similar to this link. In theory it’s not hard, as there’s a single spliced power lead to each running light. The running light has one lead to attach to the power and one ground lead that gets attached to any metal part of the grounded trailer. The hard part was getting to those leads. 
To get to the electrical system and replace the lights lost to random war wounds, I’d had to take out all of the plywood inside the trailer. These sheets were seamed with 2″ wide, very thin trim wood. It all broke as I ripped at the plywood. I couldn’t find anything like it at the local Soul Depot. I went to the local lumber yard, Ashby Lumber. The friendly staff helped me find a solution: a cheap sheet of wood veneer door skin. I had them cut it into 1.5″ strips, for a meager $1 a cut. 

The veneer strips were easily fastened over the seams between plywood panels with nothing more than staple gun. Now all the edges of the ply were covered. I also repainted the sheet metal on the corners and caulked the bottom of the trailer for extra protection against moisture. I happen to like my musical equipment on the un-wet side. 

One awesome device I’ve yet to get, but highly recommend, is a tire claw. Wolves in the Throne Room had one for their trailer when I toured with them. Similar to the boot you get from the San Fascist Police Department when you forget to move your car in SF, it locks down on your trailer tire and keeps it from being moved. This is good when you have to drop your trailer, or even when you’re just parked for the night. Like Mulder and Scully, you should trust no one. 
A few other handy tips with a trailer is to try and stock up on spare lights and other bits when you’re hitting that all-night truck stop in Nebraska. I’ve found, as an urban boy, these can be hard items to get in the city. 
Check your lug nuts on your tires and make sure they actually turn. I got my trailer from a guy who used to live in Minneapolis. The Great Lakes had rusted the lug nuts shut. Gentle giant Max of Hammers of Misfortune took a crack at it and ripped the bolts completely in half. It cost us a tour day getting them removed and replaced when a tire went flat before we’d even left San Francisco back in 2009. Worse than that, I was stuck in Max’s apartment all day waiting and was forced to watch this new show, True Blood. 
Finally, before any long trip, your axle should get greased. That’s true on a couple levels, but in this case I’m talking about the trailer. 
It’s easy to do yourself with a grease gun. Pop off the lube cover and just give the hole a couple pumps. Yeah. If this is just too much for you to take, bring the trailer into a mechanic. Just don’t wink a lot when you say, “I need my axle greased.” 

Doktor Ross Sewage
www.doktorsewage.com

Pedal Bored

I went for years and years playing bass without this toy obsession… music gear. I started playing bass through an old Ampeg SS150 guitar head. I really didn’t know any better, or how to play bass. I still don’t. Eventually I graduated to a real bass head. I picked up a couple BOSS pedals, the ODB3 and the TU2. Pretty standard for someone no more interested in their gear than that it makes some noise.

Honestly, I was too busy spending money collecting Star Wars toys to be bothered with gear. Now I hate Star Wars.

It took me more than a decade to organize, but eventually I picked up a proprietary BOSS pedal cases. You know, the ones designed to hold pieces of disposable crap from Taiwan. It’s basically a garbage bag, but it served me for a number of years.

There was an attempt to modify that plastic piece of shit pedal case from BOSS to fit a few other things. That was a non-starter from the get go, considering the things I’ve added to my set up. It’s not called a Big Muff because of it’s petite size. Then I watched the boys from Wolves in the Throne Room on tour as they lugged giant SKB pedal cases and had to check them when flying because of their size. With luggage prices ever increasing, this solution did not fly. <-- sweet pun. I decided to DIY a pedal board and case. As a registered basshole, I have more pedals than I ever need to play songs about eating poo. To exceed excess, I limited my board to what I could fit in a standard briefcase. If you have more than that on stage at your feet, you’ve likely got a small dick. Or an enlarged clitoris. Or you’re a bassist overcompensating.

I picked up a good, sturdy, used briefcase from local salvage store, Urban Ore. Urban Ore is an amazing place full of tons of old shit, with just a hint of cat piss in the air. Almost all the props in Impaled’s “Preservation of Death” video were cobbled together from crap there. After throwing around and stomping on the case, I found it was a good fit and would protect my precious cargo. I could easily take it on a plane as a carry-on. Never mind all those wires and metal boxes, Mr. Homeland Security.

I took measurements and made some mock ups of a pedal board with cardboard to make something I could pull in and out of the briefcase easily. It came out to 16.5×11.75″. After further experience picking up a few other briefcases that my board fits into, this seems to be close to a standard fit.

Then the board itself: I couldn’t mold plastic. I tried a thin wood one, but it felt too weak. I thought about strength and machismo, which defines me to a tee, and I came up with diamond plate. You know, that chrome metal shit all over tool boxes and semis and usually surrounded by men with guts (not bravado, the tummy kind). They sell diamond plate metal sheets at Home Depot, but the price is a bit high. A little research, and I found Alco Iron and Metal. They’re a huge metal shop (not music, the ferrous kind) just south of Oakland in San Leandro. They had scraps of diamond plate that they let me have for a good price.

I cut the metal down to size using a jigsaw and a Bosch brand blade made to cut metal (U118G). Nothing more special needed than that, even with the thick grade I picked that wouldn’t bend underfoot. I also sanded the corners to be rounded.

It took some elbow grease, patience, and lot of WD40 going to keep the blade slick. I also used liberal amounts of WD40 when drilling holes (a must to keep your bits sharp) for a handle I decided to put on the pedal board. It’s a cabinet handle also acquired from Urban Ore. I initially thought I’d put two on the sides of the board. After experimenting with the briefcase and some pedals, I ended up with just one handle on the end of the board. It would be easier to pull out of the briefcase and leave more space for the pedals.

On the side for the bolts, I bored out a cavity for the heads of the bolts with a larger drill bit. This way, my board would lie flat on the ground.

I realized that this was a gigantic metal plate I was going to be placing on stages surrounded by electricity. I bought a sheet of rubber used to line tool boxes from Orchard Supply Hardware and cut it to fit my board. Using a huge amount of two part epoxy well mixed, I affixed the rubber to the bottom of my pedal board. Now, it wouldn’t slip and was safe from grounding out against any loose current. I’m not fond of dying.

I’ve tried to come up with many different solutions for how to secure a pedal to a board… I’ve failed. There is no better way than Velcro. Thank you space program for making sure my pedals don’t move around and that I don’t have to tie my laces. I got “industrial strength” Velcro brand strips from Michael’s Arts and Crafts Store. This stuff is so strong, it holds to itself better than the sticky backing holds to the pedals if I lift them off. One could probably do with standard Velcro. I decided to just do a few strips. I want to see that diamond plating because it’s hella manly. The board fits in the briefcase perfect and pulls out easy. 
Then comes the fun part… populating the board. This set up has changed several times since I made this pedal board, but this is current. It’s like a really expensive game of Tetris. All the pedals are wired for power from a single Visual Sounds One Spot and can stay connected with George L patch cables

The board and pedals, nestled in their new panic room, are safer than when they were floating around and are easily accessed for a quick set up. 
As an added bonus, the brief case had extra pockets on top that fit my two 20′ instrument cables. Organized, just like the business man I was never smart enough to become. 
My final touch is the mark of the G.O.R.E. Corps, the Rxxx. Partially out of vanity, partially so it doesn’t get lost in a dark corner and left behind after a show. I mean, if I lost that phaser, wah, and delay, could the show go on? COULD IT? 

It’s enough to chill the soul.

Doktor Ross Sewage
www.doktorsewage.com

Grabber music: Drum Mic Mount

Dino used to do some vocals in Ghoul. He’d also done vocals for his previous bands, Asunder and Dystopia. It’s rare to find drummers who can also vocalize, and rarer that they aren’t ugly like Jimmy Marino of the Romantics. Well, one outta two ain’t bad. Dino can growl with the best of them while playing drums, and he wasn’t doing it anymore. I really wanted him back to singing on our upcoming tour.

Now if only we could get him to stop talking

At least one reason he gave up was the mic stand. For years, Dino had to have a big ass boom stand, balanced with the arm stretched all the way out, and placed oddly somewhere amongst his jungle of cymbal stands. This just doesn’t make sense and it’s a pain in the ass to set up. I’ve seen it lots of other times with other drummers mucking shit up and the mic flailing about.

Continue reading “Grabber music: Drum Mic Mount”

Lofty ideas #1

Impaled has managed to stay in the same practice place for about 14 years. Holy fuck, has it been that long? Jesus Christo, I don’t think the world asked for a teenaged Impaled. Zit faced and sullen, we have more attitude than ever.

Our space is in what it locally known as “The Old Soundwave,” in that there was a “new Soundwave” started by the original owner, the legendary Al Lucchesi, with some partners. He ditched that and now he just focuses on the original Soundwave. It’s still the old one, and we’re the oldest tenants there. You can read a good article about Al here from the Easy Bay Express. The place has hosted in it’s halls Neurosis, High on Fire, Forbidden, Exodus, Testament, Faith No More, and countless others.

photo by Tony U., from Yelp.com

In this humble space, we’ve written all our records, recorded a couple, filmed two music videos (parts of a third), and shared our space with the likes of Blown to Bits, Morbosidad, Stormcrow, and Worm Ouroboros. So, why, oh why, did it take us more than a decade to decide to build a loft? Fucking morons.

Sean and I enlisted the help of our dear friend and sometime gore collaborator, Scott Bryan. We set to work to build a loft. Finally. We moved most of our equipment into a space that was temporarily empty, much to our benefit. To keep things easy and do it all in a day, we decided to go with it being 8′ tall, because that’s the height that 4×4 wood lumber comes in. That’s just less cutting to do, and it’s a good height to roll full stacks out from under.

Our room is at a slight angle, but basically the width is around 14′. At first, Scott was insistent that we had to put a beam right in the middle of the loft for support. I really didn’t want to. Then a neighbor came by and suggested we really didn’t have to. Instead of just using four 2x4s for the base of the loft, we should use at least one 2×12 for the front. That’s one super thick chunk of board that was terribly unlikely to bend. That’s when Scott remembered, that for once, he didn’t have to build something to code. I mean, who would it hurt to try? Just Impaled.

We were lucky enough to have one back wall made of thick gypsum, or something… I don’t know. It’s a really tough wall to even put pushpins in, so we assumed it would be good. Point is, we were lucky to not have to use drywall anchors. We put up a long 2×4 as our starting base. Of course, we kept it all level as we could. A good device that I was unfamiliar with, not being a carpenter, was a chalk line. Basically, it’s a string you pull tight from one end to another and snap it… and you get a straight line anywhere, drawn in chalk. That was way easier than trying to find a ruler 14′ long.

From there, we attached the side panels. We made these 4′ long, because the plywood sheets we got were 8×4′, and I wanted to do as little cutting as possible. I’m lazy.

Finally the massive 2×12 board was attached. It was a pain to even get in our room, bending around the hallway and the gear that was already in the room.

For the joists, the supports for the ply, we used joist anchors on the back beam and then screwed right into them from the front. The anchors made it a lot easier for us. We didn’t have to try and make the frame and THEN attach it to the wall. The joists were spaced about 2′ apart, because Scott told us this was standard. Hell if I know, I just know it all worked.

Next, we screwed in the 4×4 posts on each corner. Really, this thing was free hanging just fine, but I figured the posts would add a psychological comfort to the drummers who had to sit underneath this monstrosity. Finally, we put up two sheets of plywood, with a slight cut in one of them to match our angled wall. This thing was as solid as a poop after mac ‘n’ cheese.

There was some bitching by the drummers about sound, so I padded the corners and under the plywood (in between each joist) with foam. That seemed to solve the problem, and now everyone is happy we have less shit all over the floor. You can imagine, after 14 years, we’ve gathered a lot of shit.

The materials cost us somewhere around $100. Priceless, when I think of how it made our space infinitely more comfortable. On top of that, it only took a day. Nice. Scott Bryan is our man. He can be contacted by any other Bay Area bands looking for a good guy for a cheap price to help them build a loft at mistermeat138@yahoo.com. Or, get off your lazy ass and give it a go yourself. You can build a small one, a big one, but if you hurt yourself, I’m gonna 1. laugh, and 2. tell you right now that I told you not to without the help of a parent or guardian.

Oh yeah… don’t forget to decorate when you get chance with stripper rope lights. It makes your music sexier.

Doktor Ross Sewage
Minister vom Drek
www.doktorsewage.com

Tour-ture tools

It seems like I was just in Europe, with Ludicra, but here I go again with Impaled. Some years are just like that. I must remember to be thankful and try to forget my crippling debt, my age, and the work hours I’m losing out on. Oh no, touring is fun. It’s great to be 35, have no money, and sleep on floors in strange lands.