Mauz, my boss and friend, is probably most well known for playing in Dystopia. He’s also played in Mindrot, Nigel Peppercock, Medication Time, and now heads up the oi punk outfit Kicker. One day at our print shop a year or so back, I noticed he had a horribly beat up BOSS DS-1. It looked like shit and something was wrong with it. He handed it over to the Doktor.
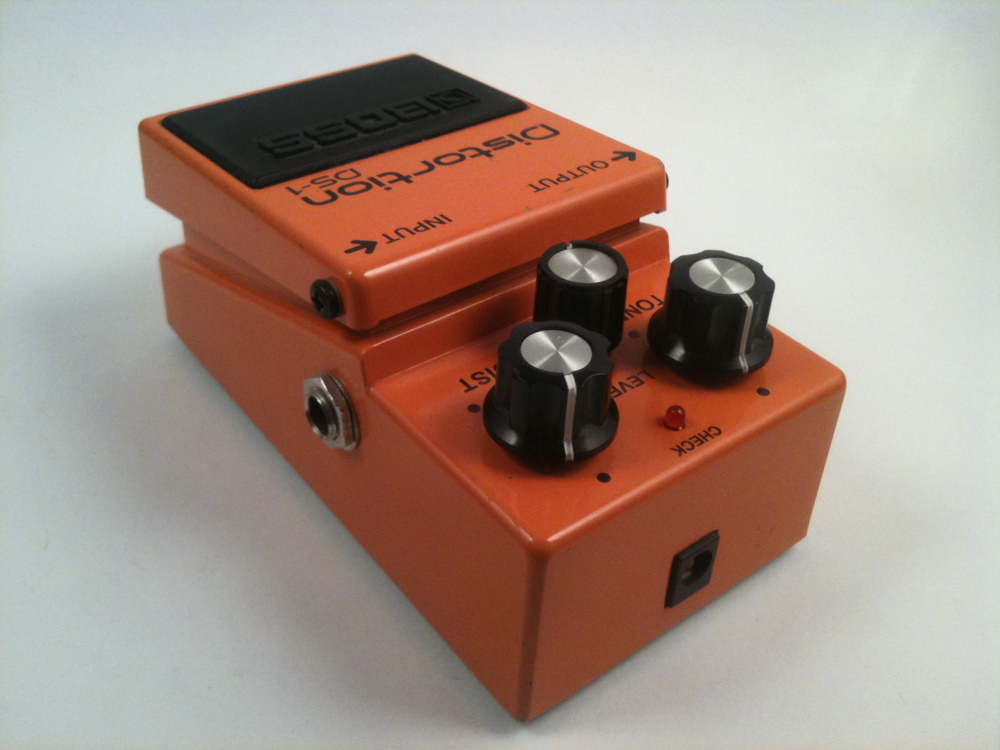
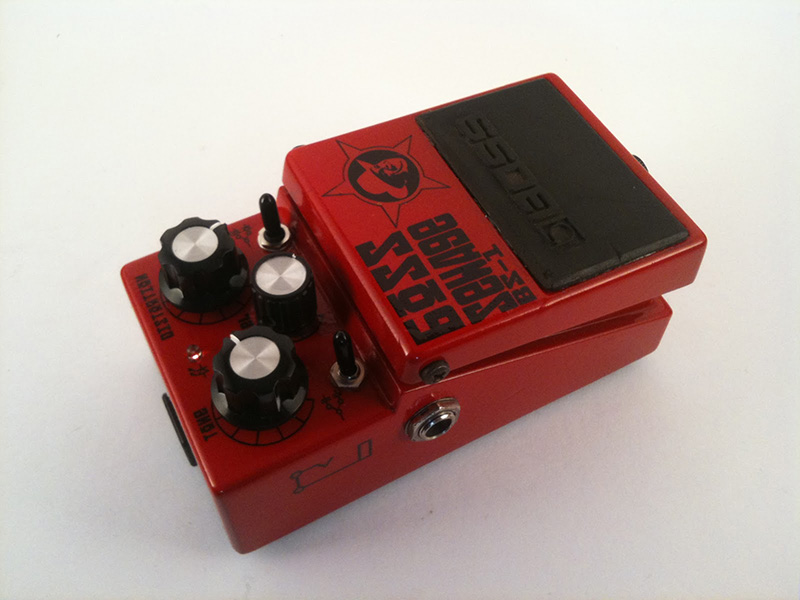
Just to be clear, that’s not what his pedal looked like. That’s a clean, normal DS-1, a classic in the distortion world. It’s a lot of people’s first stomp box. It’s a simple IC distortion circuit using silicon diode clippers and a very basic low-high tone control. That’s also why it’s a fun pedal to work on, because there’s a lot you can do. Mauz’s DS-1 pedal was spray painted black by some old punk rocker and was missing all the knobs. It needed to be cleaned up, but the technical refurbishing came first.
First off, the 9V battery clip was disconnected. This is a common problem with pedals that stop working and people are afraid to open. Once that was solved, I was determined to do a bit of tweaking. A lot of this work was done based on Brian Wampler’s excellent book, How to Modify Guitar Pedals.
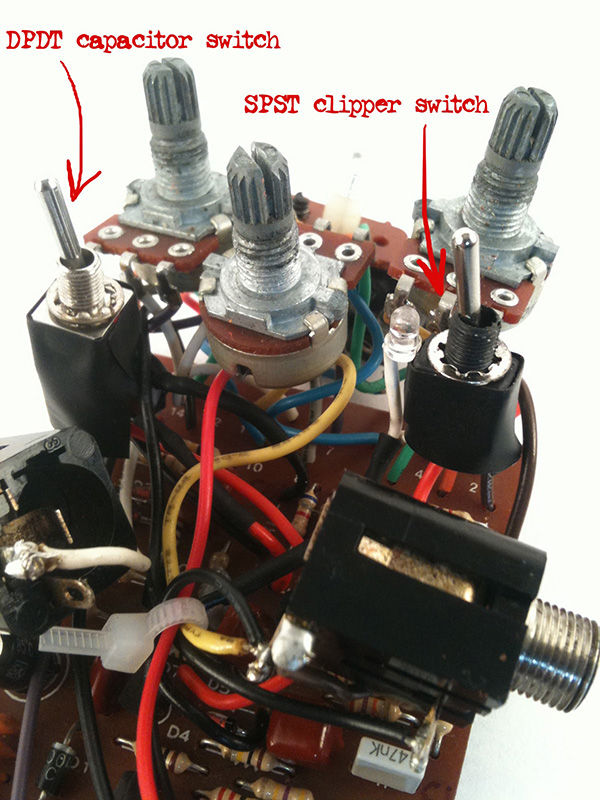
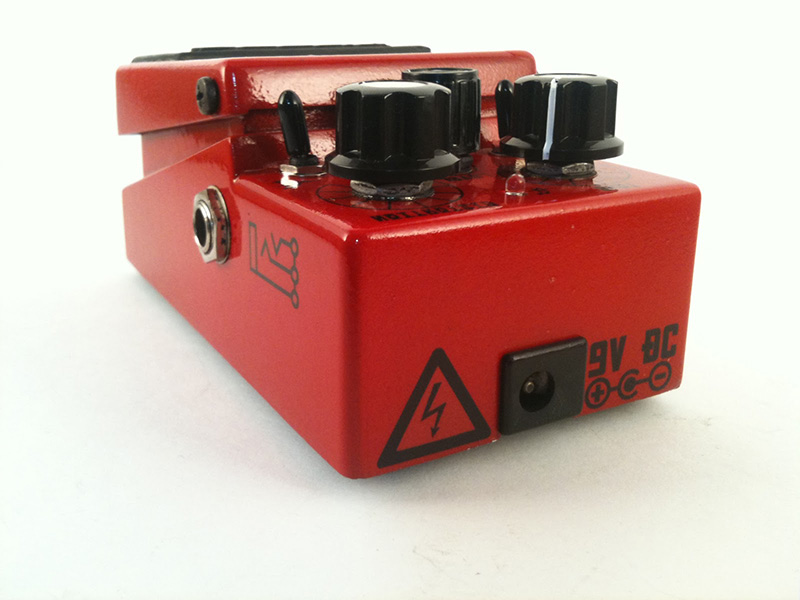
Into the guts: There were a few various capacitor changes based on the aforementioned book to help the overall EQ. Here you can see I also added to switches to the DS-1 to give it some more versatility on the user end.
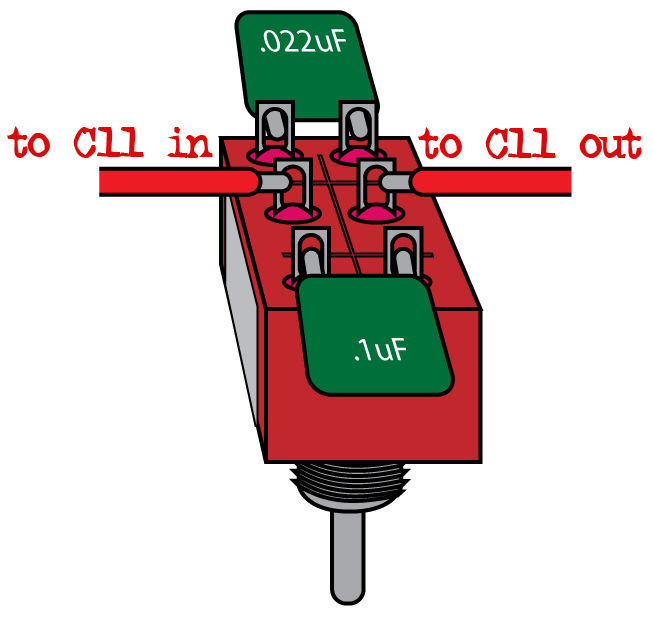
The capacitor switch adds a bit of a mid punch and some sustain or it can rock back to the more standard gain of the original design. The values are based on Wampler’s recommendations. From there it was fun to do some testing. I could have used various switching configurations to accomplish this, but the DPDT was easiest for me at the time.
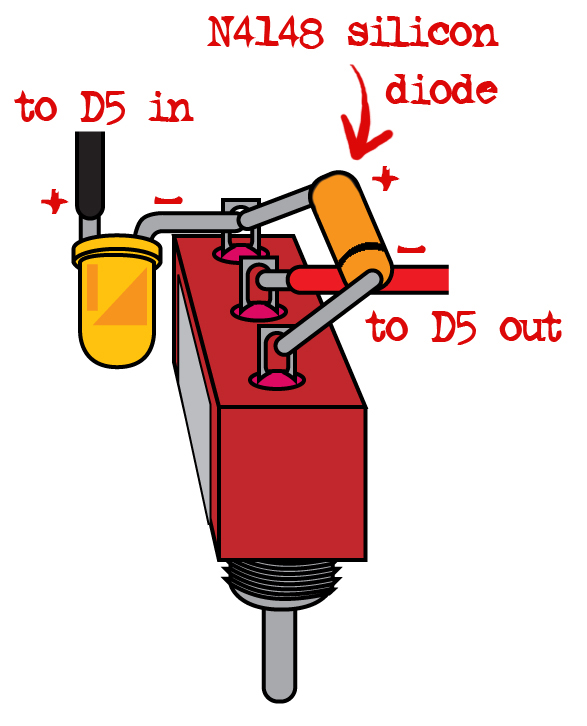
The clipper switch changes the distortion from stock silicon diodes to an assymetrical set-up of an LED and one silicon diode. The LED allows more signal through and has a more “overdriven” sound than the diode. Wired as shown here, the signal will either go directly to the LED or through the silicon diode first and then the LED. The silicon diode clips and distorts the signal voltage below the LEDs maximum, so it passes through the LED unchanged. That characteristic let me use an SPST to switch between the two. I’ve got the LED set up to be exposed on the box, because it’s cool to watch it light up as you play.
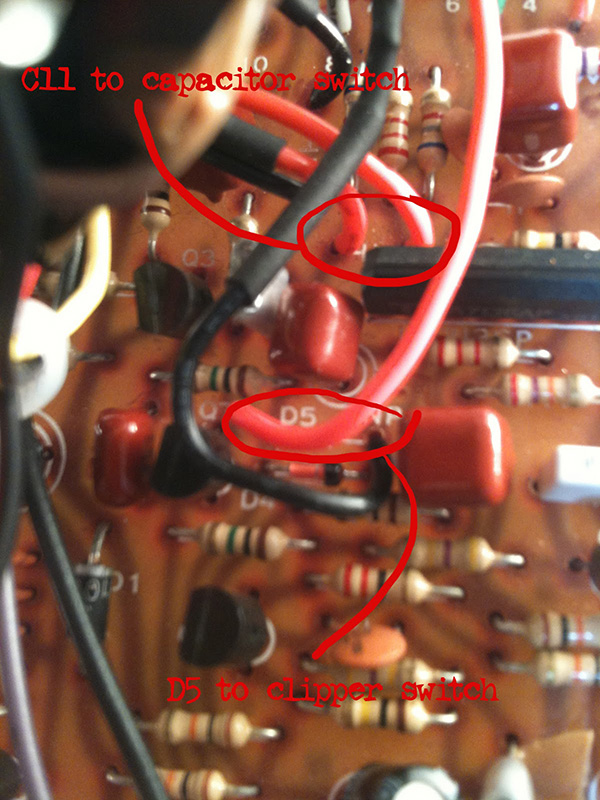
These are the exit and entrance points for the signal on the circuit board to the switches. The SPST switch is connected to D5. D4 is the other clipping diode that pairs up with the LED or the silicon diode on the switch. These pairs must have their polarities opposite to each other to clip correctly.
No, it’s never going to jump from being a DS-1 to a Tube Screamer, but the pedal’s sound was vastly improved with the various mods and tweaking. It’s also a lot more fun to jam on just to play with the switches. Here’s a stock sound sample, then the “mids” capacitor switch is engaged, and then the asymmetrical LED clipping is engaged on top of that:
Next up, the aesthetics…
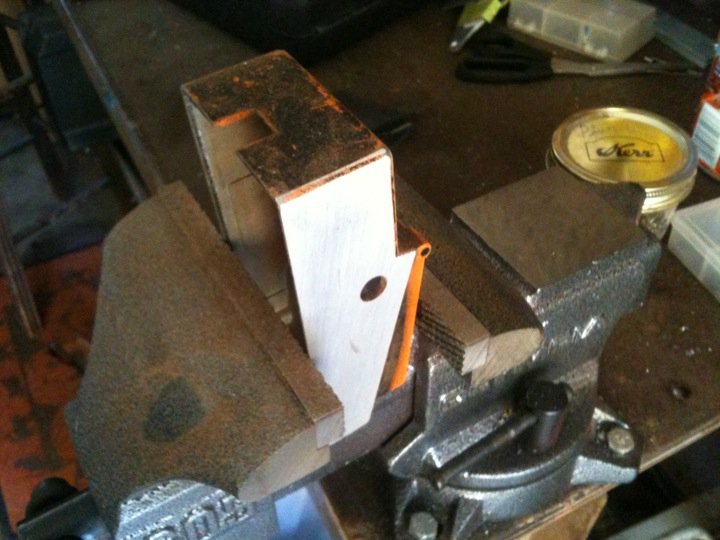
I wasn’t documenting near enough of this to really show how beat-up looking this pedal was. You can still see some of the black paint on the shell before I got it completely sanded and peeled off. I used a fine sand paper for this and some Jasco chemical paint remover for the nooks and crannies.
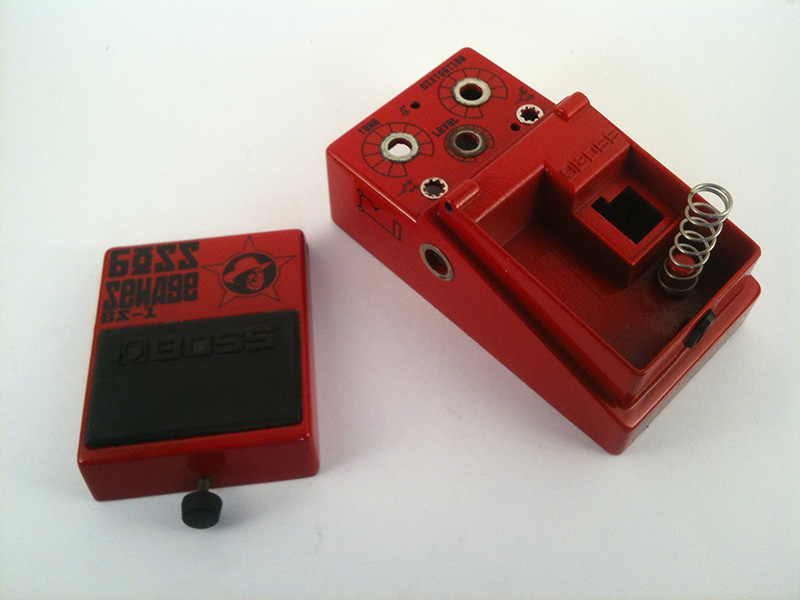
The box was re-painted inside and out. I used self-etching primer, a few coats of a red automotive spray paint for engines, then decals, followed by a clear coat of Polyurethane.
I got the knobs from Small Bear Electronics. The larger knobs are perfect replacements. The middle one is only available as a “set screw” knob. It never fits perfectly, but it’s the closest available to stock.
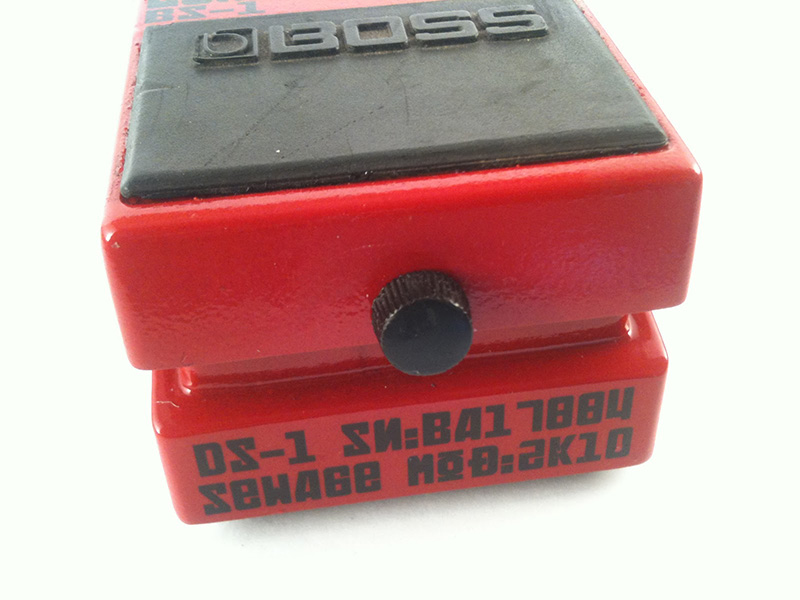
The decals were created in Adobe Illustrator and printed out on laserprint Waterslide decal paper.
The rubber gasket for the thumb screw was replaced by a 9/32″ rubber gasket available at most hardware stores in the nuts and bolts section.
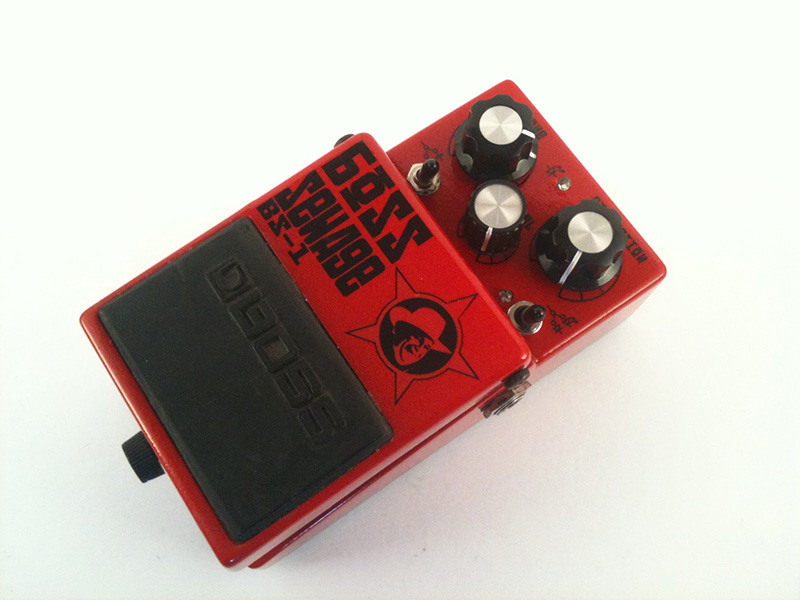
Here you can see Sorrel Brooke, aka Boss Hogg in all his glory. You can also see the LED sticking out next to the clipper switch. It lights as you play, so you can tell what distortion style you are running through. It also looks neat and I was showing off. I love LEDs.
That was one of my bigger projects up to that date what with the hot rod makeover and all. Mauz still plays the pedal, so that’s the real success… something that works.
Pretty cool. Extra points for putting Brooke on it.
This is awesome! and a very good tutorial. The only thing missing now is to make a
“Coltrane Chorus”!
Are you sure that switch (polarisation of diodes) is correct? It looks strange to me:
position 1:
pcb (goes to) +led- (goes to) -silicon+ (no current)
position2 is ok
Looking at what I drew up there, yeah, I think I fucked up. I posted this seven years ago when I was new to this, but double checking, seems I mixed up anode / cathode on the drawing of the diode. I know I did it right on the pedal, because it worked! Thanks for the heads up, I’ve updated the image.