
A friend picked up this classic Acoustic Model 220 solid-state amp for cheap. It did not work. She figured it was worth the gamble of $50 to buy a non-functioning amp and see if she knew someone who could fix it. The call went up on Facebook for anyone willing to take a look and I answered it.
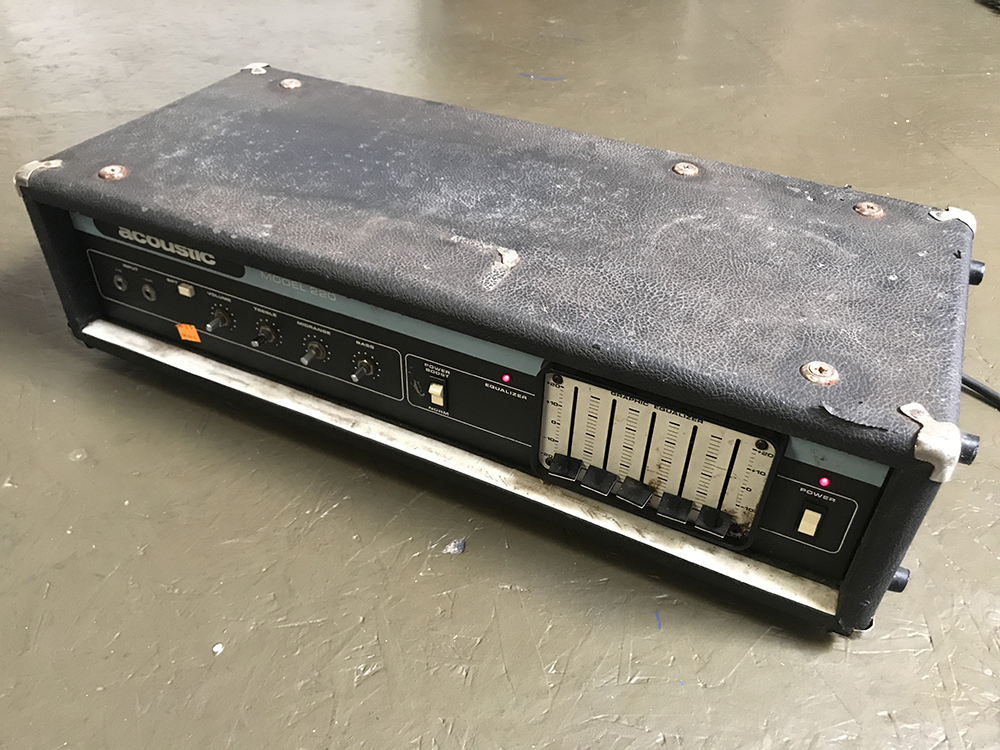
She had two amps, actually, for me to take a look at. The other was an Acoustic 370, another great piece of solid-state hardware. That one was easy; it had a cracked solder weld and was easily patched. This one was a little trickier. Considering the age of the amp, though, it was still easy and a testament to how durable these old solid-states really are.
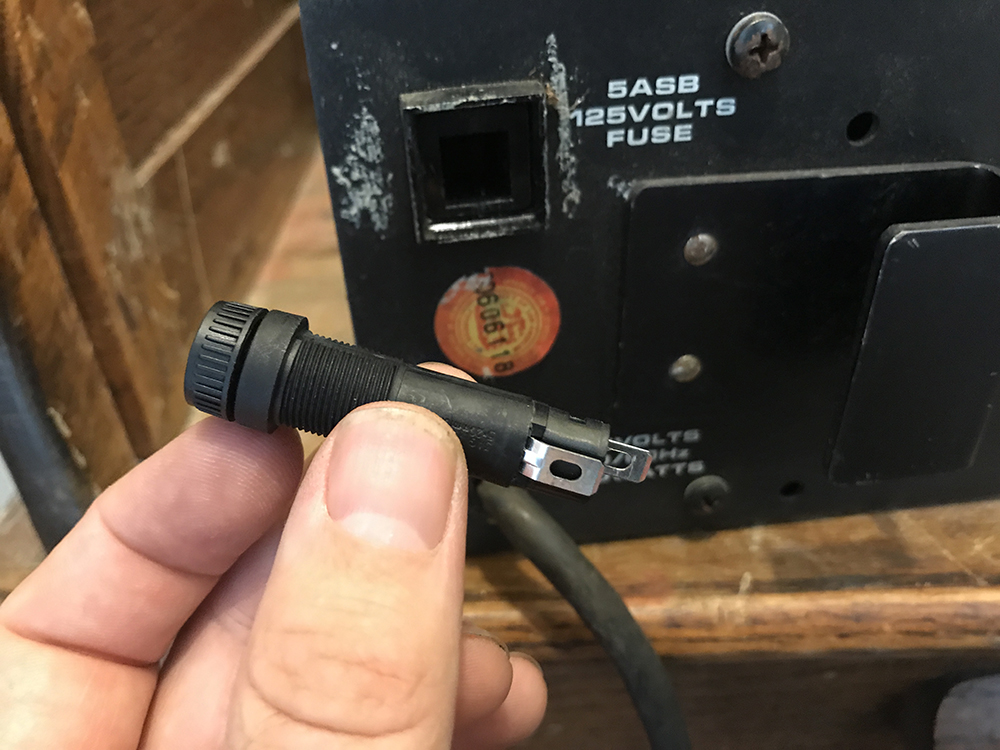
I drilled a hole in the chassis and installed the new fuse holder. Now it was time to try and power it up.
I used a variac to bring up the power slowly and ease the capacitors back into shape. I had no idea the last time this amp had functioned and powering up big-ass power capacitors quickly after a long time can shorten their life. The amp would power on, briefly, but then the LED would quickly dim and then nothing. Voltage was getting in from the plug but the transformer wasn’t sending anything. So I started there.
I checked the transformer coils for any shorts or open circuits. Essentially, each coil has a pair of wires, and those should be shorted (have a connection). Each pair should open from the other (no connection). The transformer tested fine. I moved on to the diode bridge.

This is where the AC is turned into DC. It didn’t seem a likely suspect, but hey, you gotta check everything. I checked the path of each diode using the diode setting on my multimeter, and each connection measured around .5V going one way and nothing the other way, as it should. Moving on…
I checked the power filter capacitors, though this seemed late in the stage from where a problem should be occurring. I disconnected them from the circuit and checked the ohm readings from positive to negative. It was high, in the mega-ohm range, so, in theory, these were fine.
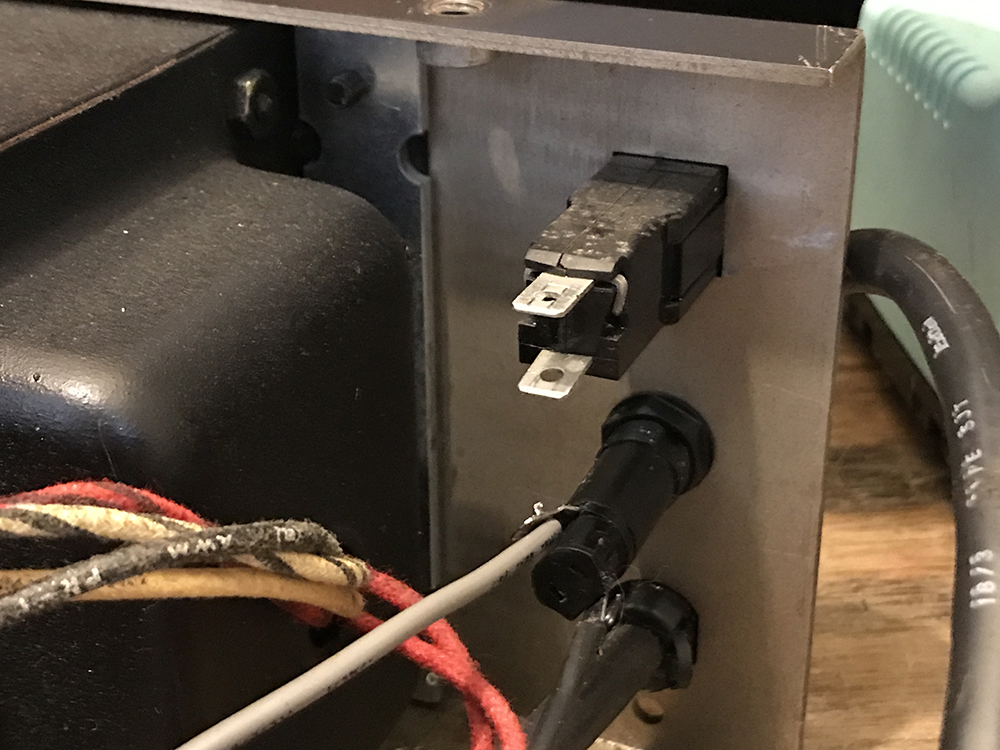
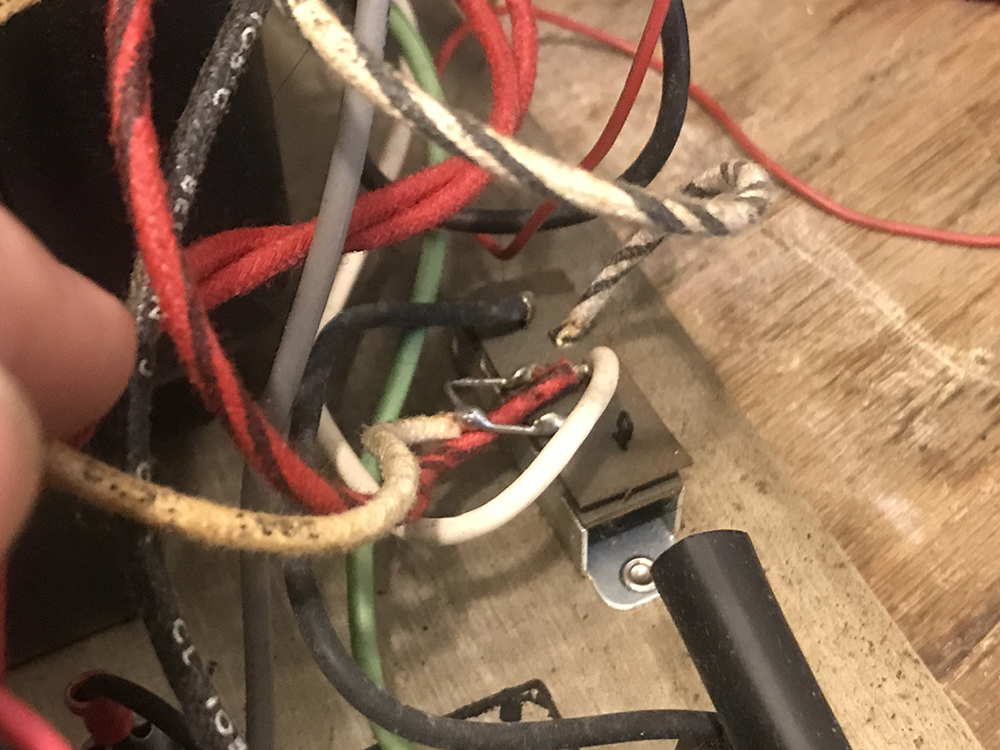
I had one last thing to check, a safety capacitor that was wired between the connectors for the power switch, and it was fine… but that little fucker had been playing me for the fool.
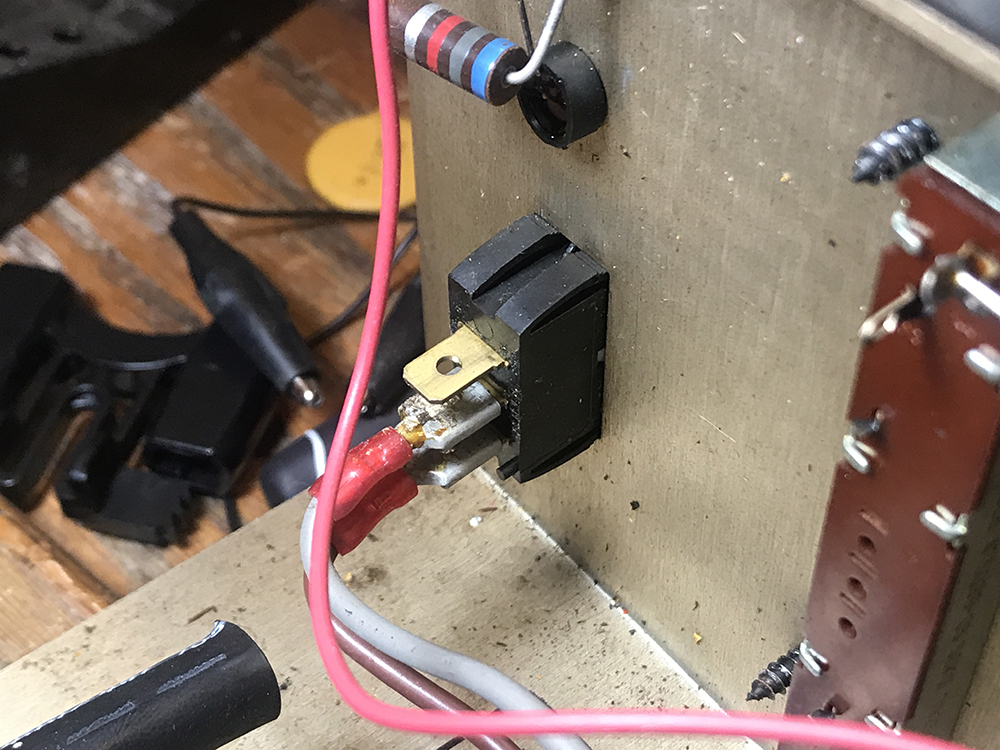
The god damned switch was broken. The safety capacitor that was wired between these two connects had been giving me a reading of a short, which was what I wanted to see when the switch was flipped. Once it was gone, however, I could see this was an open circuit. The safety capacitor also allowed that little bridge of voltage that briefly lit up the LED which had confused me.
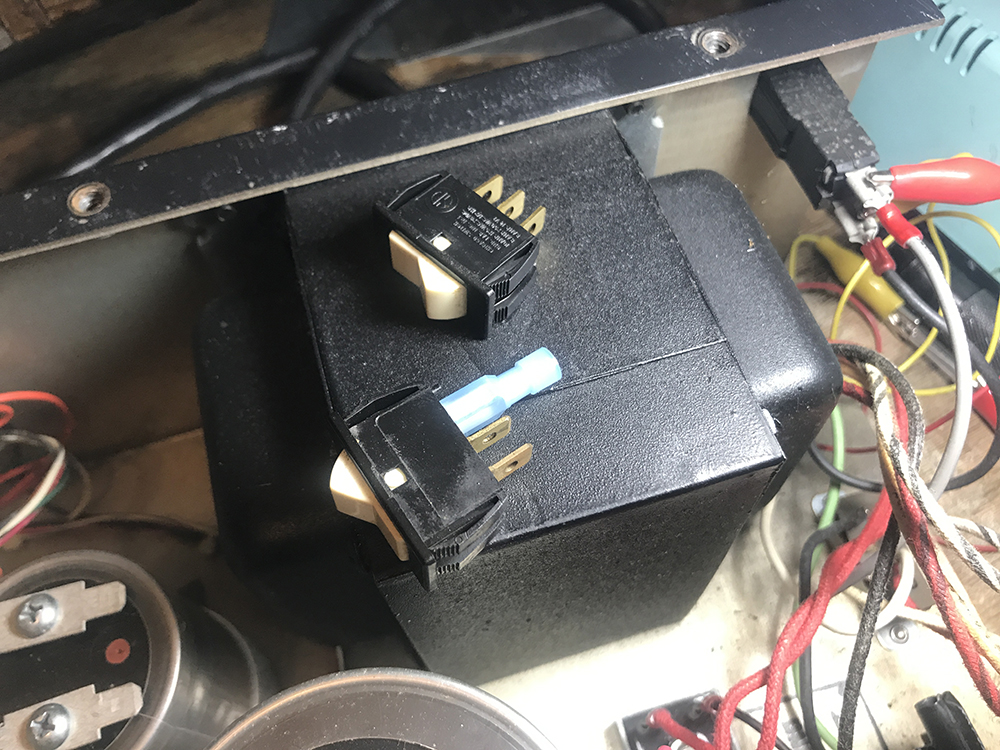
I didn’t know where I’d find a matching rocker switch, but lucky this amp had another one for a power boost section. It was in perfect working order. I just swapped the switches and made the unbroken one the new power switch. The power switch itself still worked, but just on one side. So, I left a quick connect covering the bad tab that no longer functioned and wired it in for the power boost switch.
My friend’s $50 gamble paid off. She now has an amp that goes for anywhere from $4-600 and all it took was a little elbow grease and a $5 panel mount fuse holder. Oh, and paying me for the work, too… of course.